[Beta] Running Ashita

We currently do not have a graphical user interface made for launching Ashita v4 during the beta. This documentation covers using the ashita-cli.exe launcher until a full UI launcher is ready.
Before you attempt to launch/run Ashita v4, please be sure to create a new boot configuration file with your desired configurations. You can find more information in regards to configurations here: Configurations
Once you have setup a new boot configuration file, you are ready to launch Ashita.
Launching via Shortcut
If you are not familiar with using a command line, then it is recommended that you follow these directions to create a shortcut to launch Ashita with.
- Open the folder you have installed Ashita to. (ie.
C:\Ashita\) - Locate the
ashita-cli.exefile. - Right-click the
ashita-cli.exefile and choose:Create Shortcut - Right-click the newly created shortcut and choose:
Rename(Rename the shortcut to what you would prefer it to be called. Such as the name of the character you plan to play.) - Right-click the newly created shortcut and choose:
Properties
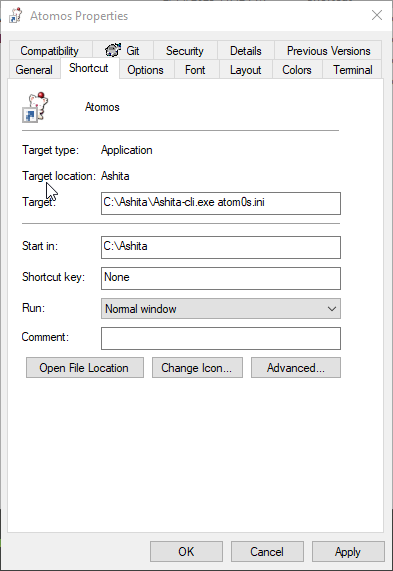
Once you have opened the properties of the shortcut, you need to edit the shortcut Target field. In this field, you will see the full path to ashita-cli.exe, such as: C:\Ashita\ashita-cli.exe
At the end of this path you need to add the name of the boot configuration file that you created.
You DO NOT include the path to this file, just the file name itself!

In this above example I have the following:
- Ashita is located at:
C:\Ashita\ - ashita-cli.exe is located at:
C:\Ashita\ashita-cli.exe - atom0s.ini is the new boot configuration file located at:
C:\Ashita\config\boot\atom0s.ini
Then I would update the target to look like this: C:\Ashita\ashita-cli.exe atom0s.ini
If you install Ashita to a different location than recommended, and that location has spaces in the path, then be sure to surround the path with quotes when editing the Target property! Failure to add quotes may result in your shortcut not working properly.
For example: "C:\Users\atom0s\Desktop\Ashita v4\ashita-cli.exe" atom0s.ini
Launching via Command Line
Users familiar with a command line can easily and directly launch Ashita v4.
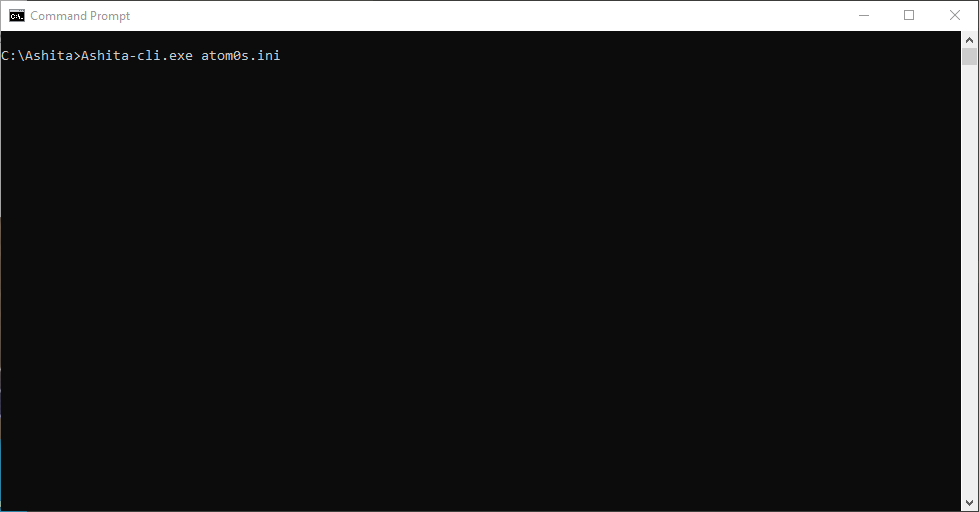
Simply pass the name of the boot configuration file you wish to run to ashita-cli.exe.
For example: ashita-cli.exe atom0s.ini
